Air-tight is all right!
(April/May/June/July 2020) Years before we started this project, we thought “oh, we’ll add solar panels and we’ll be energy efficient!” but we learned quickly that a home’s energy efficiency is first a function of how its thermal envelope (roof, walls, ceilings, windows, doors, and foundation) is constructed and secondly how much energy it produces on its own, whether solar, wind, or ground-based. Each part of the envelope does its part to control rain, vapor, airflow, and heat. Today’s energy efficient building science favors the sealing of a home to make it air-tight, which prevents air from freely moving in and out of the home. That controls what is called “thermal transfer” over “thermal bridges” — namely, any air space or material that physically “bridges” the interior of the home to the exterior of the home. Another term you’ll see is “R-value” which means the heat resistance value of insulation. The higher the number, the better. Here in Chicago, we’re in Energy Star zone 5, which means our attics’, walls’, floors’, and crawlspace’s R values are designed to align to our climate, weighted to the heating needs of our home.
The Walls
Our exterior walls are covered with fiber cement board siding by James Hardie (aka “Hardie board”).
Unlike conventional walls, ours have a layer of exterior rigid insulation just behind the siding to stop thermal bridging. Depending upon the location of the wall, the rigid insulation is either 1”-thick or 1.5” thick.

1.5” and 1” rigid foam insulation prevents thermal bridging
Behind the rigid insulation is a layer of Tyvek, a standard infiltration barrier.
Behind the Tyvek is either plywood/Celotex (existing ground floor, 1st floor, and 2nd floor) or oriented strand board (master suite). The plywood/Celotex or OSB connects to the wall studs and provides structural bracing for the walls.
Unlike conventional walls, the interfaces between a stud and plywood/OSB in our walls are sealed with a 1.5” flash coat of spray foam insulation, which which adds R-10.5 and eliminates any air gaps that could lead to thermal bridging.
Typically, the number of studs in a wall—the vertical boards in a wall—serve as a thermal bridge because the wood literally conducts heat from the interior through the drywall, through the wood stud itself, through the plywood or OSB, and through whatever siding one has to the outside air. So in some cases, one builds with fewer studs in the wall (24” on center vs. 16” on center). The fewer the studs, the fewer possible thermal bridges. This also reduces the amount of lumber being used.
In our case, all our walls—both existing and new—are using 16” on center stud spacing to emphasize structural durability. We are also retaining our existing 2x4 studs in all walls, except for our new master suite, which is using 2x6 studs. And because those 2x6 studs are thicker, the walls in our master suite can accommodate two more inches of insulation. The difference comes when using batting insulation: a 2x4 stud with batting yields R-15 while a 2x6 stud with batting yields R-19.
Existing Ground Floor
Our entire ground floor sits partially below grade and partially above grade, making it a “daylight basement”.
Family Room
Covered by brick masonry on the exterior versus siding, the family room’s walls are filled with 3.5” of closed-cell spray foam (R-24) which is then covered with batting insulation (R-15) for a total assembly value of R-39.

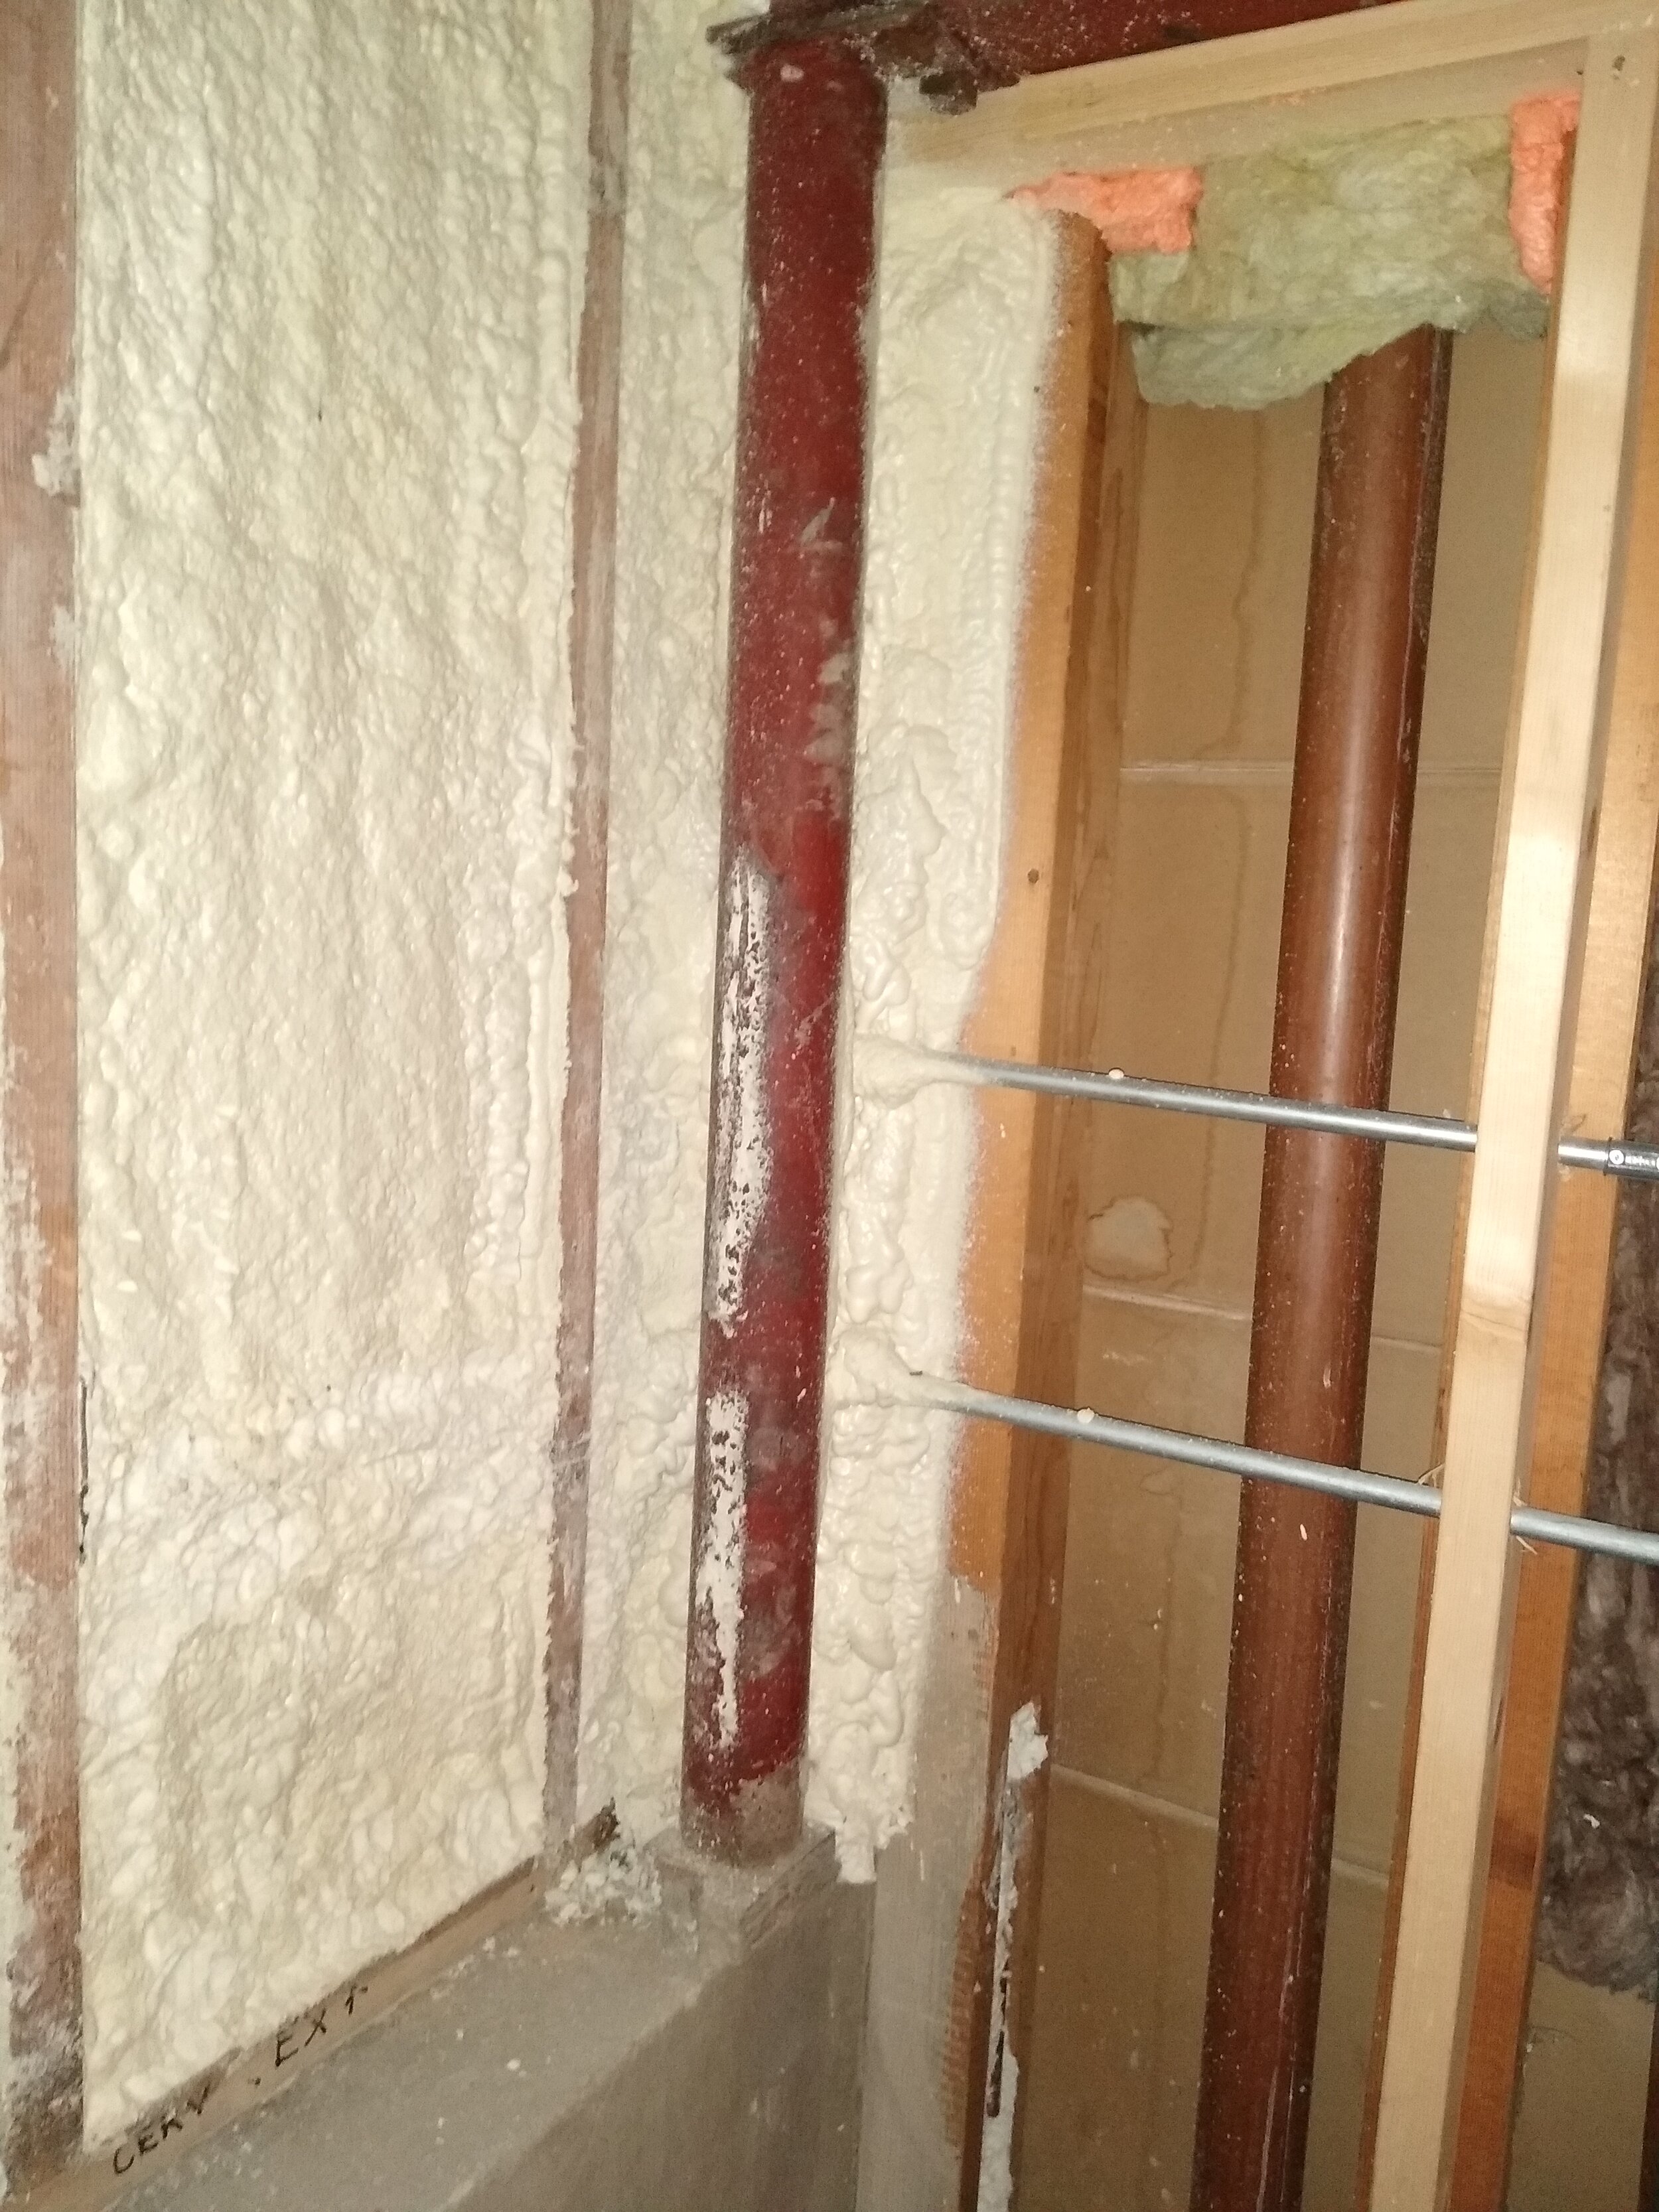
Bathroom
As mentioned during an earlier post about finding a 117 year-old rifle behind a wall, our downstairs bathroom actually had a double wall — a stud wall inside the actual foundation of the home with a gap between it and the stud wall for the garage. Because we couldn’t access the bathroom’s stud wall from the inside (we chose to not tear out all the tile and add to our overall costs), the gap between the bathroom’s and garage’s walls was filled with a 1.5” flash coat of spray foam (R-10.5) and then the garage’s stud wall was covered with 1.5” rigid foam insulation (R-7.5). This sealed the bathroom’s wall from the garage’s wall, thus stopping any thermal bridging.
Utility Room
One wall’s exterior is brick masonry, but the double wall connected to the garage is filled with 3.5” of closed-cell spray foam (R-24) plus 1.5” of rigid foam insulation (R-7.5) on the garage side of the wall for a total value of R-31.5. A later post will describe how the two air ducts for our CERV (Conditioning Energy Recovery Ventilator) enter/exit the thermal envelope of the house via the utility room and then to the outside through the garage.
Crawlspace
The floor joists in the crawlspace (that support the entire existing 1st floor) are un-insulated while the foundation’s concrete walls are insulated (R-19). All rim joists are filled with closed-cell spray foam (R-24), which seals off the crawlspace from the outside.
Existing 1st Floor
Kitchen and Living/Dining Room
This massive space is surrounded by siding, 1” rigid foam insulation (R-5), Tyvek, 1/2” plywood , a 2nd layer of Tyvek, the existing Celotex, and 3.5” of closed-cell spray foam (R-24) between the studs for a total value of R-29.

1st floor kitchen entry: fiber cement board siding, 1” rigid insulation, Tyvek, OSB, stud wall… before air sealing and interior insulation

1st floor living room: 3.5” of closed-cell spray foam seals up all air gaps between studs
The Garage
The garage’s ceiling—formerly below an un-insulated hip roof over the cinder block and brick walls and now below the sloping impermeable membrane installed on the garage terrace to direct rainwater—is insulated with thermal batting (R-49) while the wall connected to house itself (with a double wall separating the garage from both the utility room and basement bathroom on the other side) is insulated with a 1.5” flash coat of spray foam insulation (R-10.5) and 1.5” of rigid foam insulation (R-7.5). Though the two cinder block walls and the overhead door wall are still un-insulated, the R-49 thermal batting in the ceiling will keep the garage a bit warmer than it has in the past.

The first step for the garage: a 1.5” flash coat of spray foam insulation — this seals the gaps between the second wall (in the basement bathroom) and between the studs.

The second step for the garage: 1.5” rigid foam insulation separates garage from the utility room below and Mike’s office above (the floor of which sits approximately at the location of the topmost inverted “FOAMULAR”)
Existing 2nd Floor
Offices
Our three offices’ walls are constructed the same way as our 1st floor, with the exception that we are using 1.5” rigid foam insulation. The lower half of my office is adjacent to the garage while the upper half is adjacent to the outside of the house, but in this case, the 1.5” rigid foam insulation is provided by the exterior overlooking the garage terrace and the 1.5” rigid foam insulation on the garage wall — either way, my entire south office wall benefits from the R-7.5 of the rigid insulation in both places. Then the entire wall’s 4” stud depth is filled with 3.5” of spray foam (R-24) just like our 1st floor walls for a total of R-31.5.

Mike’s office: spray foam insulation (garage wall) and acoustic batting between office and 2nd floor bathroom
Bathroom
Our existing 2nd floor bathroom’s exposure to the outside was so limited, we were able to just use the 1.5” foam insulation (R-7.5) behind the siding plus retain the existing fiberglass batting (R-15). The existing double-hung window in this bathroom was judged to already perform adequately (air-tight, double-paned, and very small).
New Master Suite
The north, west, and south sides of our new master suite are exposed to the outside, while the east side (Amy’s closet, the main stairwell, and shower/toilet wall) are considered the border of the thermal envelope as they are adjacent to the attic. So, our suite’s external walls use siding, 1.5” rigid foam insulation (R-7.5), Tyvek infiltration barrier, OSB sheathing, a 1.5” flash coat of spray foam insulation (R-10.5) and a layer of thermal eco-batt insulation (R-19) between the 2x6 studs, and finally the drywall for a total of R-37.

Master suite: eco-batt insulation in the trayed ceiling and master bath (acoustic batt in interior walls)
The Attics and Ceilings
Beneath our conventionally built roof—shingles, felt paper, plywood, and water barrier—the two attics (and the ceilings above our existing 2nd floor and our new master suite) have rigid foam, eco-batting, and blow-in insulation in different thickness that perform at R-65 combined. This will eliminate the ice dams we used to get — icicles on the gutters in winter and then lovely water damage from melting snow in the spring — via the inferior insulation we used to have. The air-tight drywall installation and gasketed attic access panels effectively seal the attics from the conditioned areas of the home. The attics are ventilated to remove excess moisture. This is about 25% higher than the maximum Energy Star R value rating for a home in upper Minnesota (or even non-Arctic Canada, for that matter)

Stairwell and skylight separated from attic by rigid foam…

… then sealed air-tight by 3.5” of closed-cell spray foam…

… then augmented by eco-batt and acoustic insulation.
The Windows
As mentioned in a previous post, our home’s windows are sealed air-tight and are built with two panes of glass separated by inert argon gas, which prevents thermal transfer, making them ideal for our Chicago winters while their low-emissivity silver oxide glazing reflects the sun’s rays to prevent heat from building up during the summer.
Two windows that deserve mention are the two new sliding glass doors — technically more window than door — that both face the east from our two offices on the 2nd floor. These are built like our other windows, but have an even higher U factor to prevent thermal transfer.

Amy’s office
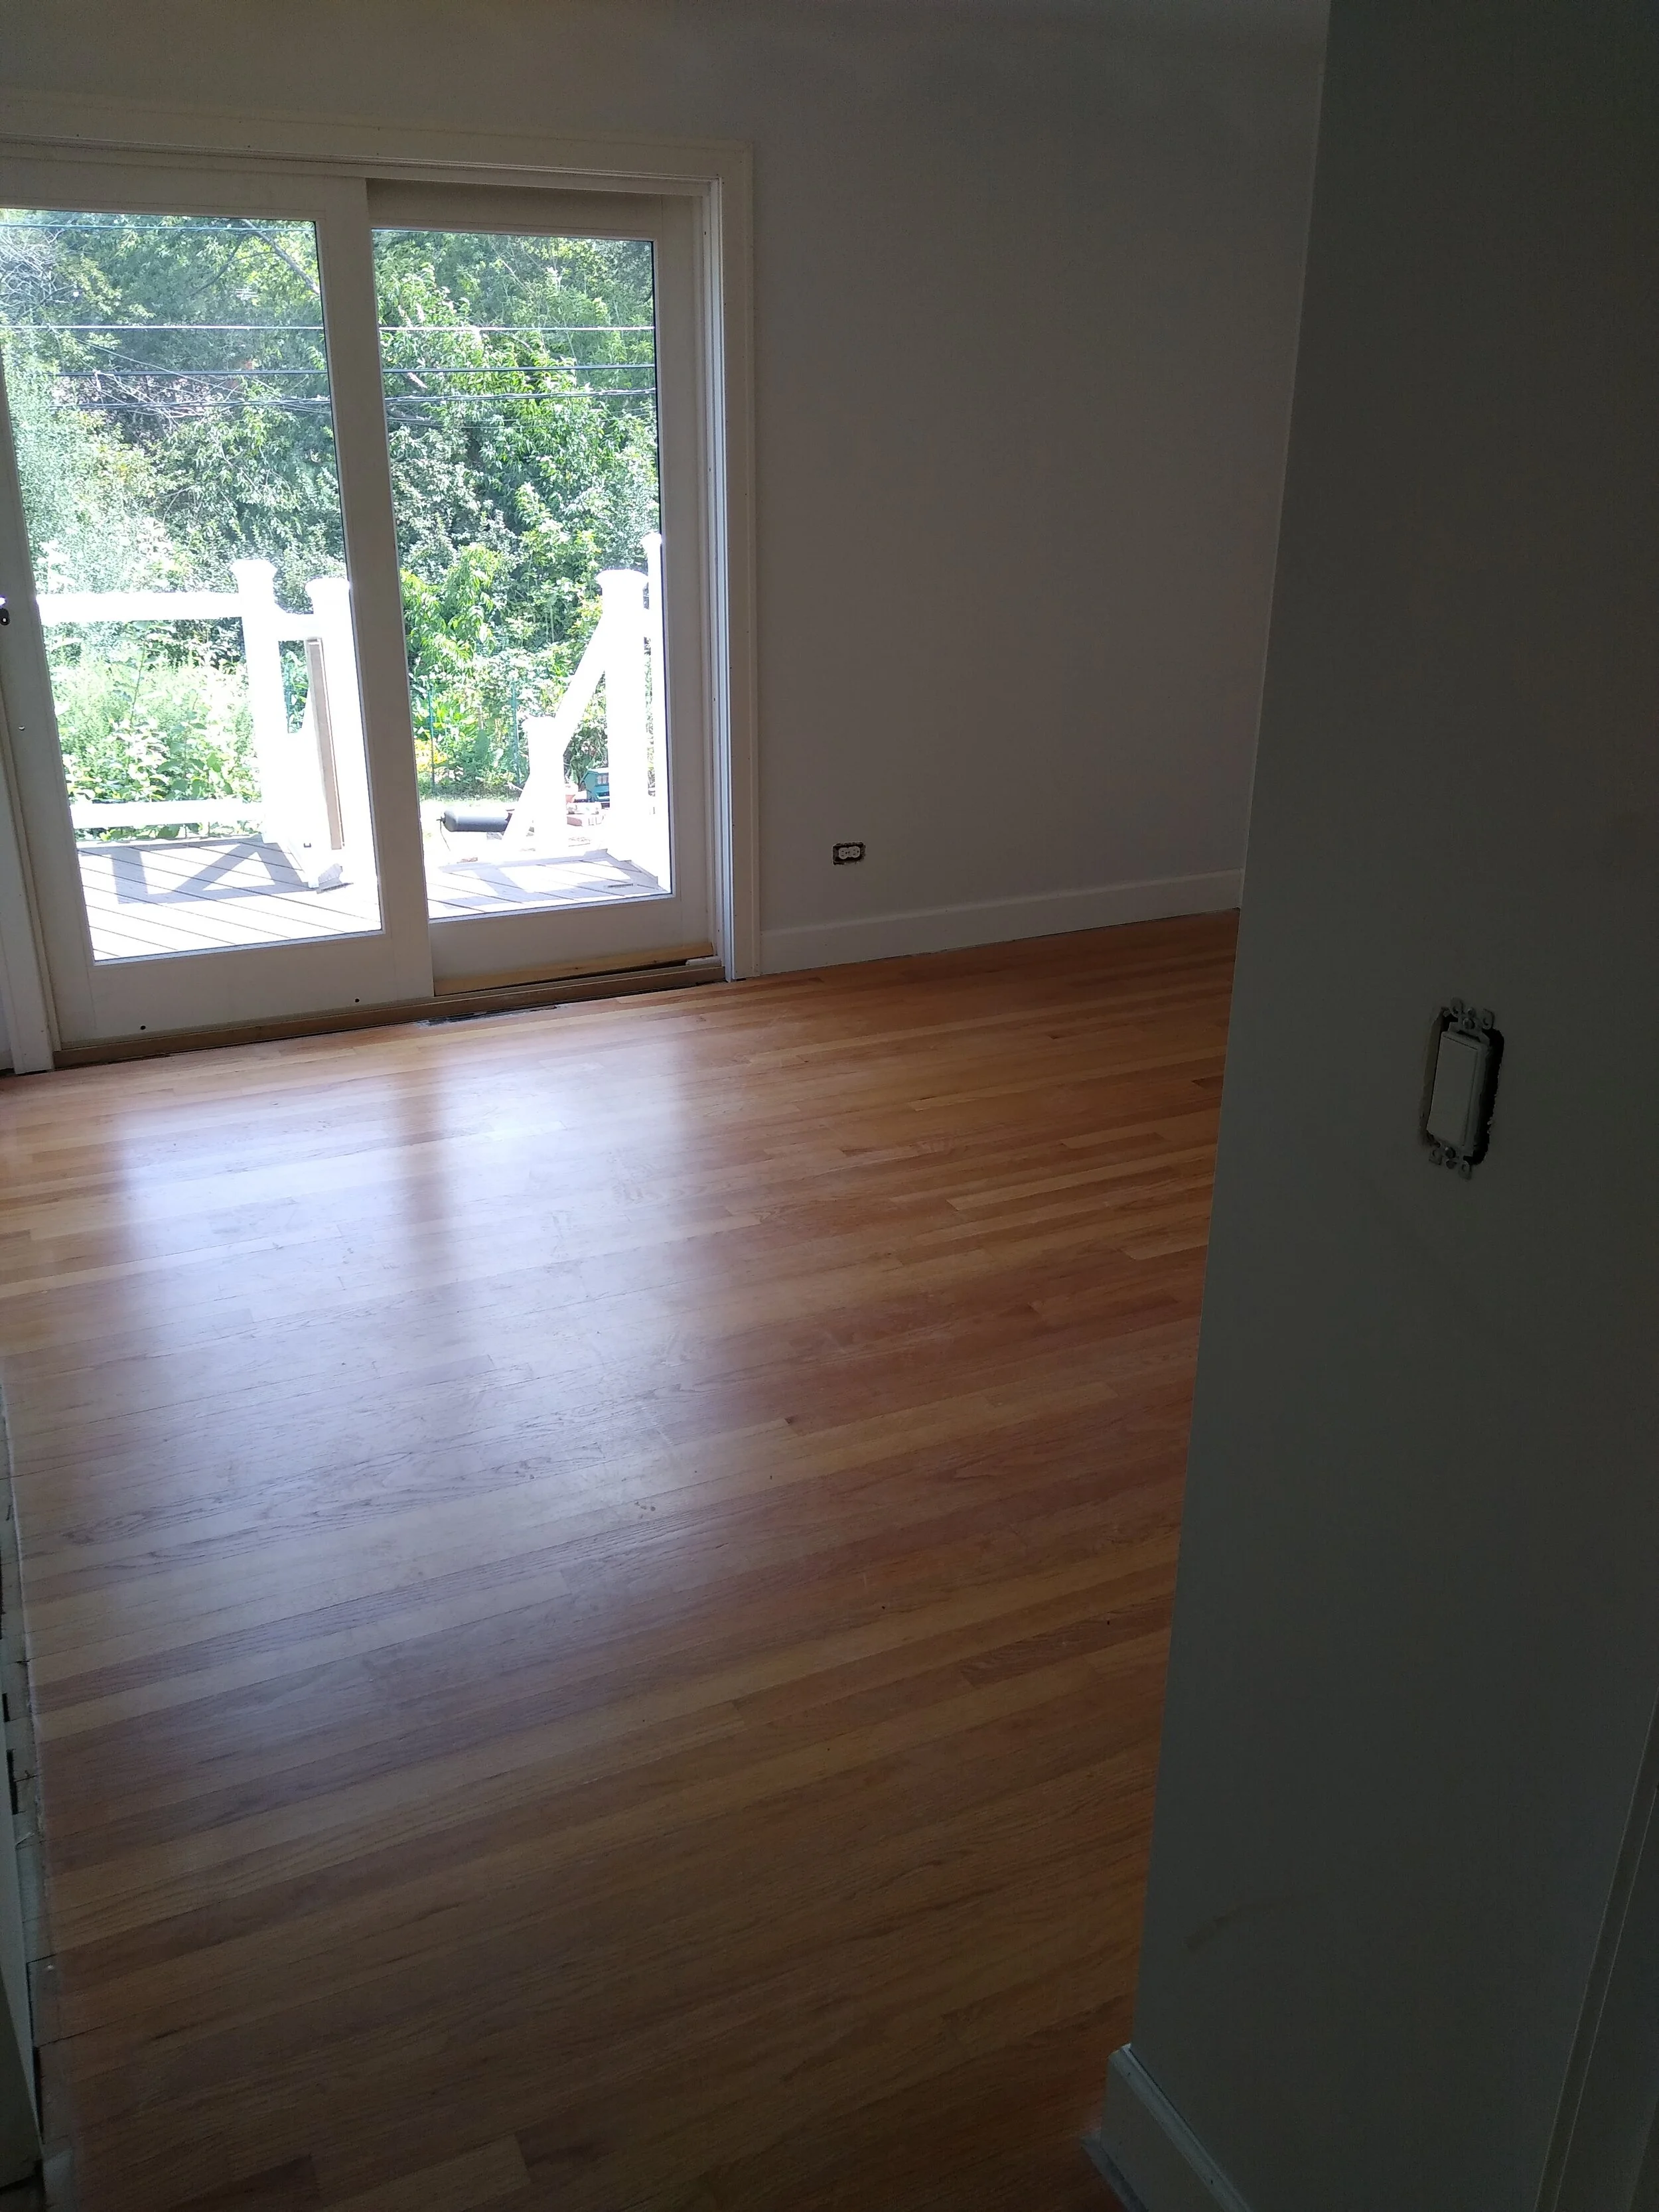
Mike’s office
The Doors
Two of our doors — our new wooden front door and our new wooden kitchen door — are the only ones that directly expose the interior of the house to the exterior. They each only provide an approximate R-2.5 value, but were selected more for aesthetics than energy efficiency, which we’re already getting from the rest of the floor on that level.
Our new utility room door, though technically part of the thermal envelope, benefits from opening into the garage, which is now benefiting from a newly insulated ceiling. The last door is our rear garage door, which opens onto the patio, but is not part of the thermal envelope at all.

Our new front door

Our new kitchen door
And finally… here is the crew from Thermaseal/Lakeside Insulation who did all our spray foam! Thanks guys!

Our air sealing experts!
The next step after air sealing and insulation is drywall, where the house starts to actually look like a house inside!
Stay tuned!